It’s April, 2020. Since mid-March we have been told to work exclusively from home. Schooling has moved to ‘distance learning.’ Statewide ‘stay-at-home’ orders have been issued across the country and beyond. This is COVID-19 and the new realities facing ours and every culture worldwide.
How do I respond? Build something.
Working from home isn’t new to me, but WFH with all my kids also in the house is a totally different dynamic. And with most of my workday spent interacting with my coworkers via web calls, the need for some aspect of privacy is more important than ever.
Hence, the Dad Status indicator.
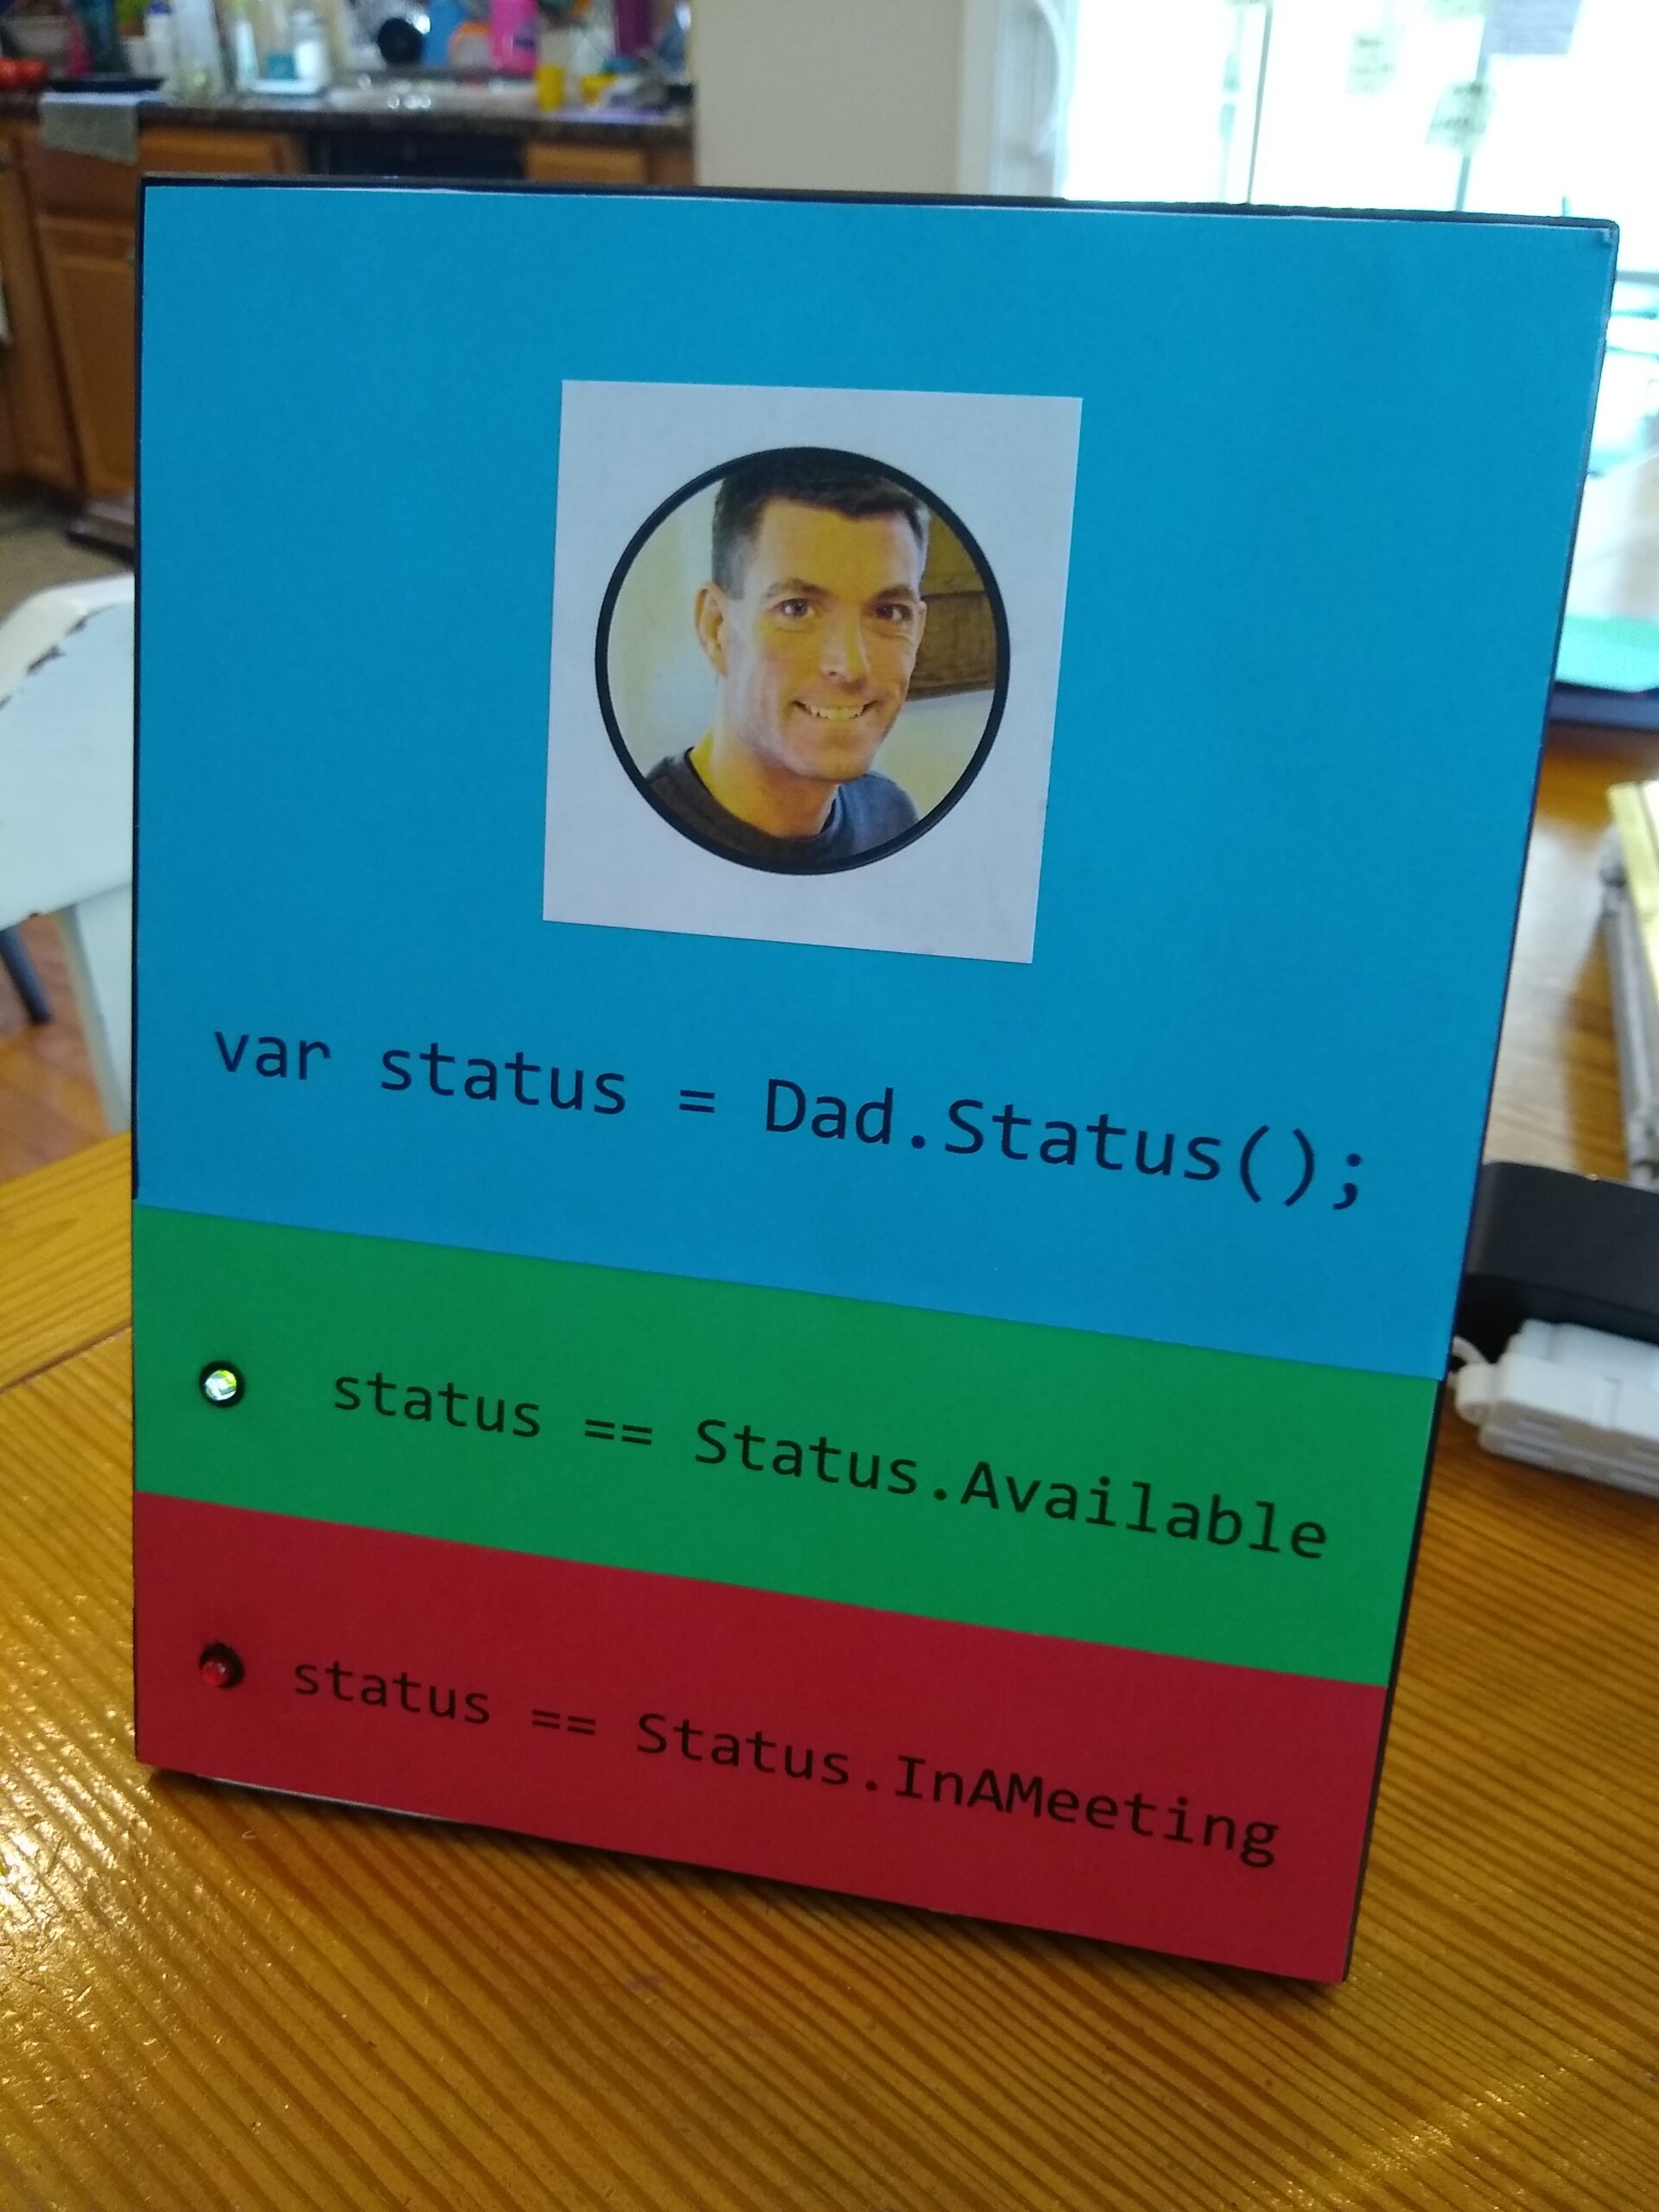
A simple way to show my family whether or not I am available to solve their problem, hear their tale of woe about the terrible thing their sibling did, or make lunch.
The Dad Status Indicator (DSI) is a simple IoT rig using a Particle Photon and a couple colored LEDs. I also put together a quick web-app so I can toggle the status from my browser or phone.
Materials
- Picture frame
- foam core
- colored card stock
- 1 Particle Photon
- breadboard
- 1 RED LED
- 1 GREEN LED
- LED holders
- 1 2.2k resistor
- 18 gauge wire
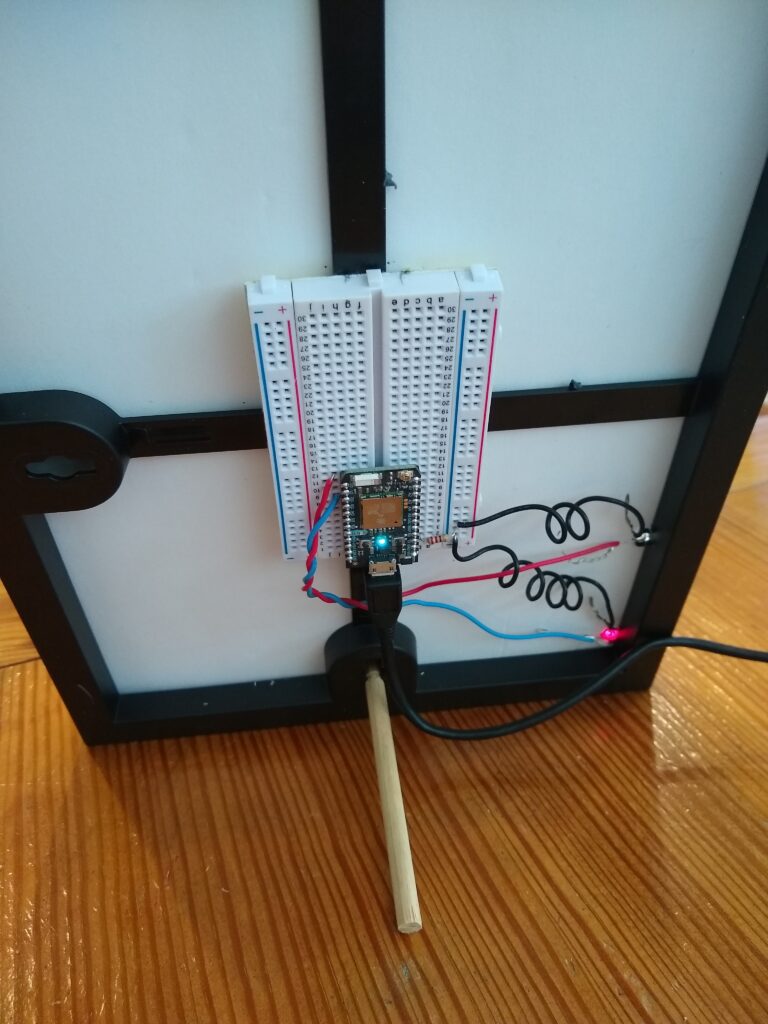
After printing the status message and text on to the card stock, I cut the foam-core to size to fit right in the picture frame. The card stock panels are then glued to the foam core.
I used a nailset to punch the holes through for the LEDs to be inserted.
There is no glass on the frame, mostly due to how the LEDs project out a bit.
Wiring
I used 2 digital pins on the Photon for the LEDs, and put the resistor inline with GND. Remember with LEDs the short leg is GND and the long leg is power.

Code
Particle is largely an event based platform, so subscribing to an event stream is pretty straightforward.
Subscribe
Here’s the Firmware code used to receive messages from the event topic and act accordingly:
// Daddy status indicator

int greenLed = D0;

int redLed = D3;

void setup() {
  #if defined(DEBUG_BUILD)
    Mesh.off();
    BLE.off();
  #endif

  // init pins
  pinMode(greenLed, OUTPUT);
  pinMode(redLed, OUTPUT);

  // subscripbe for events
  Particle.subscribe("daddy/status", statusHandler);

  // init status as available
  digitalWrite(redLed, LOW);
  digitalWrite(greenLed, HIGH);

}

// loop method not needed
void loop() {
}


// event subsription handler
void statusHandler(String event, String data) {
    if (data == "available")
    {
        digitalWrite(redLed, LOW);
        digitalWrite(greenLed, HIGH);
    }
    else if (data == "occupied")
    {
        digitalWrite(redLed, HIGH);
        digitalWrite(greenLed, LOW);
    }
}
Since the events are published using the Particle API, you do need to subscribe using the ALL_DEVICES parameter, and publish the event as a Public event.
More information about the Particle.subscribe() usage can be found on the Particle Docs site.
Publish
To publish the events, I’m using the REST API provided by Particle. You need to generate an access token (I used the Particle CLI tool for this) and include that in your API Post.
Here’s the bit of Javascript used to publish to the API
var available = 1;
var occupied = 0;

var apiUrl = "https://api.particle.io/v1/devices/events";
var token = "[[insert Particle access Token here]]";

function UpdateAvailability(state) {
    var data = {
        name: "daddy/status",
        data: state ? "available" : "occupied",
        private: "false",
        ttl: "60"
    };

    fetch(apiUrl, {
            method: 'POST', // or 'PUT'
            headers: {
                'Content-Type': 'application/json',
                'Authorization': 'Bearer ' + token
            },
            body: JSON.stringify(data),
        })
        .then((response) => response.json())
        .then((data) => {
            console.log('Success:', data);
            WriteSuccess(state);
        })
        .catch((error) => {
            console.error('Error:', error);
        });
}

function WriteSuccess(state) {
    var feed = document.querySelector("#messages");

    let newEl = document.createElement('li');
    newEl.classList.add('list-group-item', 'text-white');
    newEl.classList.add(state ? 'bg-success' : 'bg-danger');
    newEl.innerText = 'Status set to ' + (state ? 'available' : 'occupied') + ' at ' + new Date().toLocaleString();
    feed.prepend(newEl);
}
After each post, I am displaying a status message in a feed.
Web app
The web app is super simple. Just a couple buttons to trigger the post and a feed showing the history.

As the buttons are clicked you can see the message list update.

All the code for this project can be found on Github at https://github.com/smithderekm/daddy-status-indicator
Future Enhancements
Now that the foundation is set, we can build upon it.
- Use Dash button intercept to change status – single click for Occupied; double-click for Available;
- Subscribe to Outlook calendar to get meetings feed and automatically update status at start and end of each meeting.

Leave a Reply